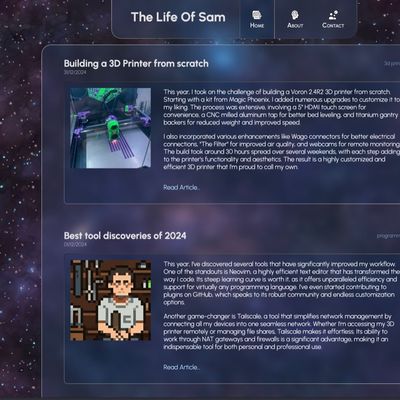
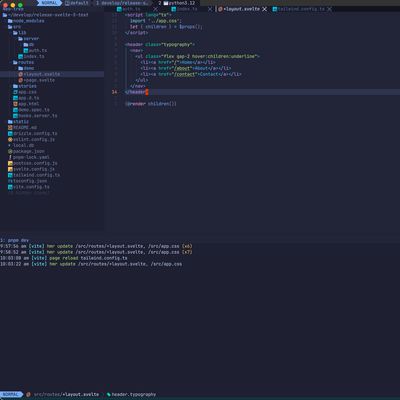
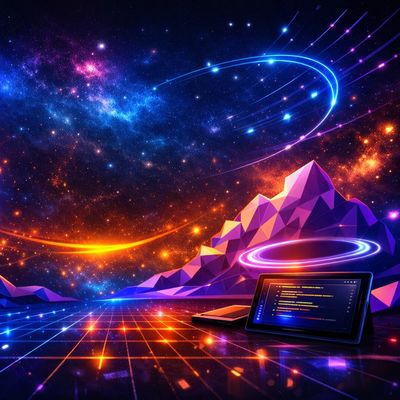
• thumbnail

    I've recently set up my own self-hosted servers, starting with an old corporate machine I bought on eBay. I installed Proxmox on it, which allows me to run virtual machines and containers (LXC). I also set up Tailscale as my VPN for secure access from anywhere.

    I migrated my Home Assistant instance to Proxmox and upgraded my RAM to accommodate it. I added a 4TB internal hard drive and started setting up various services using LXC containers. I used Community Scripts as a starting point and eventually managed to run services like Jellyfin, Sonarr, and Radarr. To manage connections, I implemented Technitium DNS and set up HTTPS using Certbot and Cloudflare. I also integrated Authentik for single sign-on across my services.

    Read Article...
  • thumbnail

    I recently decided to install Linux on my desktop PC due to the sunsetting of Windows 10. I explored various Linux distributions and desktop environments in a VM on my MacBook Pro. I settled on Arch Linux, despite its complexity, because of my tinkerer nature.

    I used UTM for virtualization, which supports both QEMU and Apple Virtualization. I chose Apple Virtualization for better GPU support, despite it being experimental. I followed a detailed process to install Arch Linux ARM, including partitioning, formatting, and setting up the system. I also installed a desktop environment and additional tools like Yay and Firefox. Now, I have a functional Arch Linux setup!

    Read Article...
  • thumbnail

    A bit of a tutorial on my Neovim setup, tailored for macOS using ZSH, but adaptable for Linux and Bash. I chose Neovim over regular Vim for its modern features and Lua-based configuration, which is more versatile than Vim's domain-specific language.

    I started by installing Homebrew, Neovim, and Fzf. I used LazyVim as my base configuration, cloning its starter template and removing the .git directory for personal repository integration. I then added various plugins for coding, debugging, and formatting, enhancing my development workflow. Additionally, I included some fun tools and AI integrations to make my coding experience more efficient and enjoyable.

    Read Article...
  • thumbnail

    I've significantly streamlined my macOS workflow over the past six months, focusing heavily on keyboard-centric tools. I've transitioned to using Ghostty and Tmux in the terminal, integrating Tmux with Neovim for seamless pane navigation. This setup allows me to move between terminal and editor effortlessly, enhancing my productivity.

    I've also remapped my keyboard using Karabiner Elements and customized my Keychron Q2 Max for optimal efficiency. Additionally, I've adopted Aerospace as my tiling window manager, which, combined with Raycast for quick app launching, has made my workflow incredibly smooth. This setup allows me to switch between tasks rapidly, keeping my focus on the job at hand.

    Read Article...
  • thumbnail

    I've finally updated my blog to use SvelteKit, making it more flexible. I can now create simple markdown files for basic posts or add custom pages for more complex designs. The server automatically builds and deploys a static version to Cloudflare Workers upon GitHub check-ins.

    I've added some interactive features like star movement and parallax effects for desktop users. The color scheme is defined using CSS variables and the oklch color space. Icons animate on hover, and summaries are generated using Mistral. Images are automatically resized and cropped, and RSS feeds are available in various formats. The design features a translucent glass and space theme.

    Read Article...
  • thumbnail

    This year, I took on the challenge of building a Voron 2.4R2 3D printer from scratch. Starting with a kit from Magic Phoenix, I added numerous upgrades to customize it to my liking. The process was extensive, involving a 5" HDMI touch screen for convenience, a CNC milled aluminum tap for better bed leveling, and titanium gantry backers for reduced weight and improved speed.

    I also incorporated various enhancements like Wago connectors for better electrical connections, "The Filter" for improved air quality, and webcams for remote monitoring. The build took around 30 hours spread over several weekends, with each step adding to the printer's functionality and aesthetics. The result is a highly customized and efficient 3D printer that I'm proud to call my own.

    Read Article...
  • thumbnail

    This year, I've discovered several tools that have significantly improved my workflow. One of the standouts is Neovim, a highly efficient text editor that has transformed the way I code. Its steep learning curve is worth it, as it offers unparalleled efficiency and support for virtually any programming language. I've even started contributing to plugins on GitHub, which speaks to its robust community and endless customization options.

    Another game-changer is Tailscale, a tool that simplifies network management by connecting all my devices into one seamless network. Whether I'm accessing my 3D printer remotely or managing file shares, Tailscale makes it effortless. Its ability to work through NAT gateways and firewalls is a significant advantage, making it an indispensable tool for both personal and professional use.

    Read Article...
  • thumbnail

    I've been diving deep into the terminal world lately. I'm even considering moving away from VSCode! It all started with a YouTube video about alternative terminals to iTerm2 on macOS, where I discovered Wezterm. I was instantly hooked, especially because it's multi-platform.

    Wezterm has some great features that I'm used to from tmux, so I can drop that. The best part is configuring a "Leader" key, making it easy to split panes or create new tabs. It's been a smooth transition, even on Windows machines using WSL.

    Read Article...
  • thumbnail

    I recently delved into the advanced features of GraphQL, specifically focusing on subscriptions. Unlike REST, which is request-based, GraphQL supports subscriptions and push responses, making it more dynamic. To achieve this, GraphQL uses WebSockets, allowing for persistent connections and real-time data updates.

    I built a simple chat application to illustrate this. Clients connect to retrieve chat history using basic GraphQL and then receive updates via subscriptions. Initially, the chat history is stored in memory, but I plan to integrate Redis's Pub/Sub mechanism for a more robust solution. This approach can be adapted to other libraries like Kafka or PostgreSQL.

    Read Article...
  • thumbnail

    I recently delved into the client-side implementation of GraphQL using React and Apollo. The process involved setting up a basic React application with Apollo as the GraphQL library. Although there was a fair amount of initial boilerplate code, once everything was in place, extending the application became quite straightforward.

    I started by creating a new React project using TypeScript and installed the necessary Apollo and GraphQL libraries. The next step was to modify the package.json to include scripts for updating the schema and generating types. This ensured that the client-side code stayed in sync with the server-side schema. The final touch was to create a simple React component that queries the GraphQL server and displays the data.

    Read Article...